Christmas Paper Flower DIY / iPhone 8 plus Camera Test | Personal Post
September 28, 2017
So this blog is going to serve as a few different things for me. It will serve to:
1. To unload a bunch of garbled thoughts floating around in my head
2. To show off something I made and am proud of (and kind of explain how I made it)
3. Show the images I took with my new iPhone that I hadn’t really had time to play around with yet*
So life…life has been a lot lately. It has felt like the last 3 months have been wave after wave hitting my family. Every time it feels like you can catch your breath another wave comes and takes it right away. The first wave, overwhelming, but manageable. The second wave, frustrating, but you can handle it. Each one a little more defeating.
This last wave has been disorienting.
I’ve been getting a lot of sympathetic “sorrys” and a few “I don’t know what else to say” in the last few months, and I’ll be honest, I really don’t know what to say either. Turns out there is no answer key or “How To” guide for life. So much of this has been uncharted territory. I’m not totally sure how I’m supposed to react, or feel, or say. Not that I feel a pressure to react or feel a certain way, but it’s not something I’ve experienced before. So I will use my already culled life skills to do something I do often: wing it.
A year or two ago I decided to buy some craft supplies to try to make paper flowers. I had seen a few people on instagram making gorgeous flowers and bouquets, and I found myself looking at tutorials. Being the craft addict I am, I decided to take a shot at it. I headed over to Paper Mart (where I’ve gotten a lot of my packaging supplies) and got a few rolls of crepe paper. I made a handful of flowers, got busy, and sporadically made a flower here or there. Always intending to make a pretty arrangement with the flowers I made, ultimately, the supplies just sat there in a box in the closet.
That box moved into my new place. Sitting atop some other un-unpacked boxes in my office. I’ve slowly, through busy season, been trying to dwindle down the boxes in my office and get settled in. The other day I got myself down to just a couple boxes, and saw all the paper flowers. It was discouraging, I hadn’t been utilizing the paper like I had intended. I never intend for my craft supplies to go unused. I want all my craft supplies to feel loved () So I decided, (you know, while attempting to clean) to pull out the crepe paper, the hot glue gun and the floral wire, and make a few flowers; put those supplies to use.
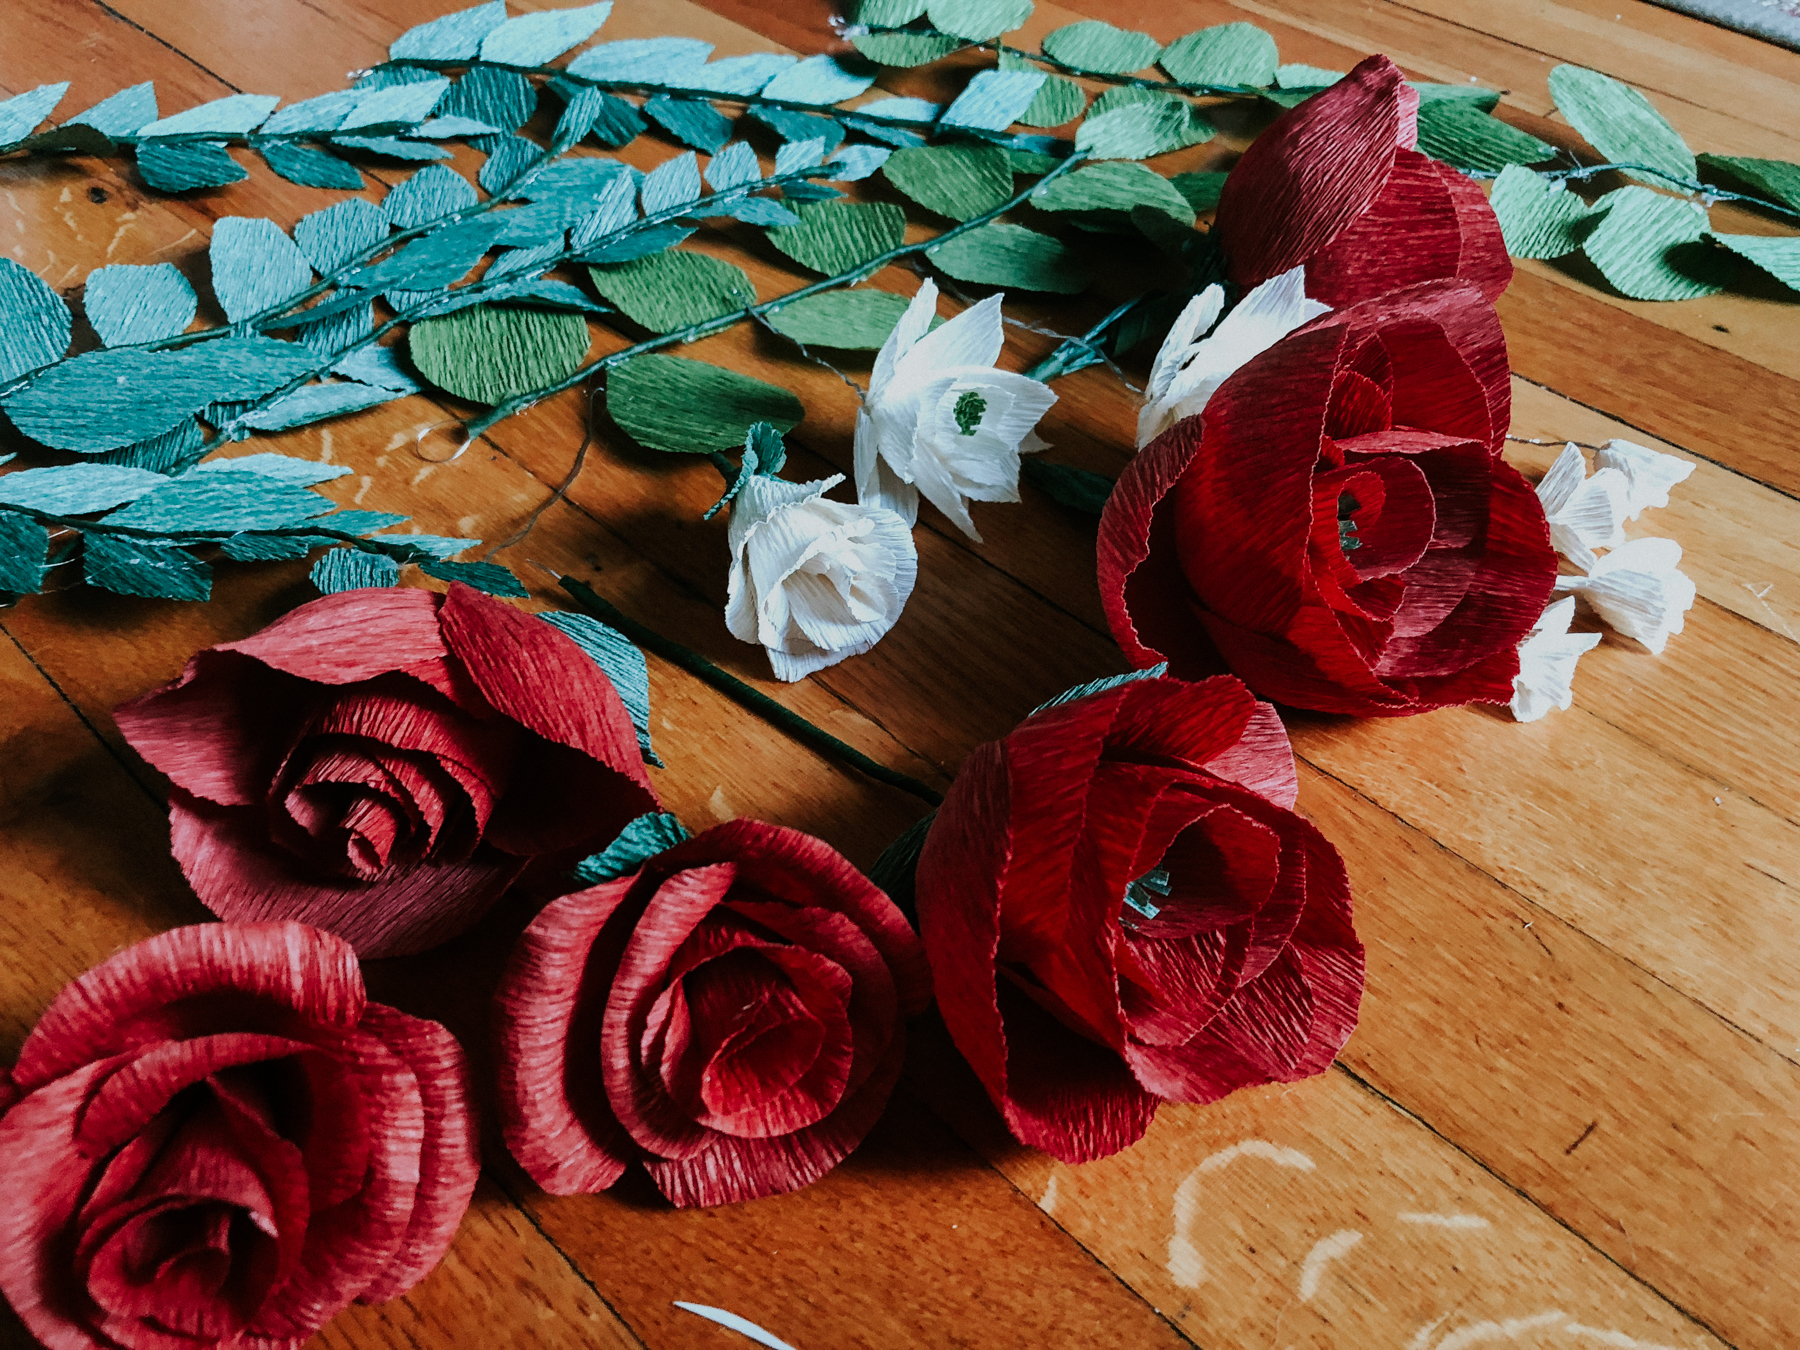
I ended up making some “greenery” and falling in love. I made a couple sprigs and a couple flowers, and called it a night.
The next morning I woke up to another wave, in the form of a text message. I, again, wasn’t sure how to feel, I definitely didn’t know what to expect. I grabbed my morning cup of coffee and headed into my office, like it was a typical day. I sat in my office chair, looking at the black, “sleeping” computer in front of me. I couldn’t do it. I don’t take it for granted that I can make this choice, but I decided not to dive into work, I decided to take the morning (and afternoon) off and keep creating. I’ve always loved using my creativity and working with my hands as an outlet. I dove right back into creating. In the last couple days I’ve made 12 paper flowers, and 19 sprigs of paper greenery. (Not all of them ended up in my final piece)
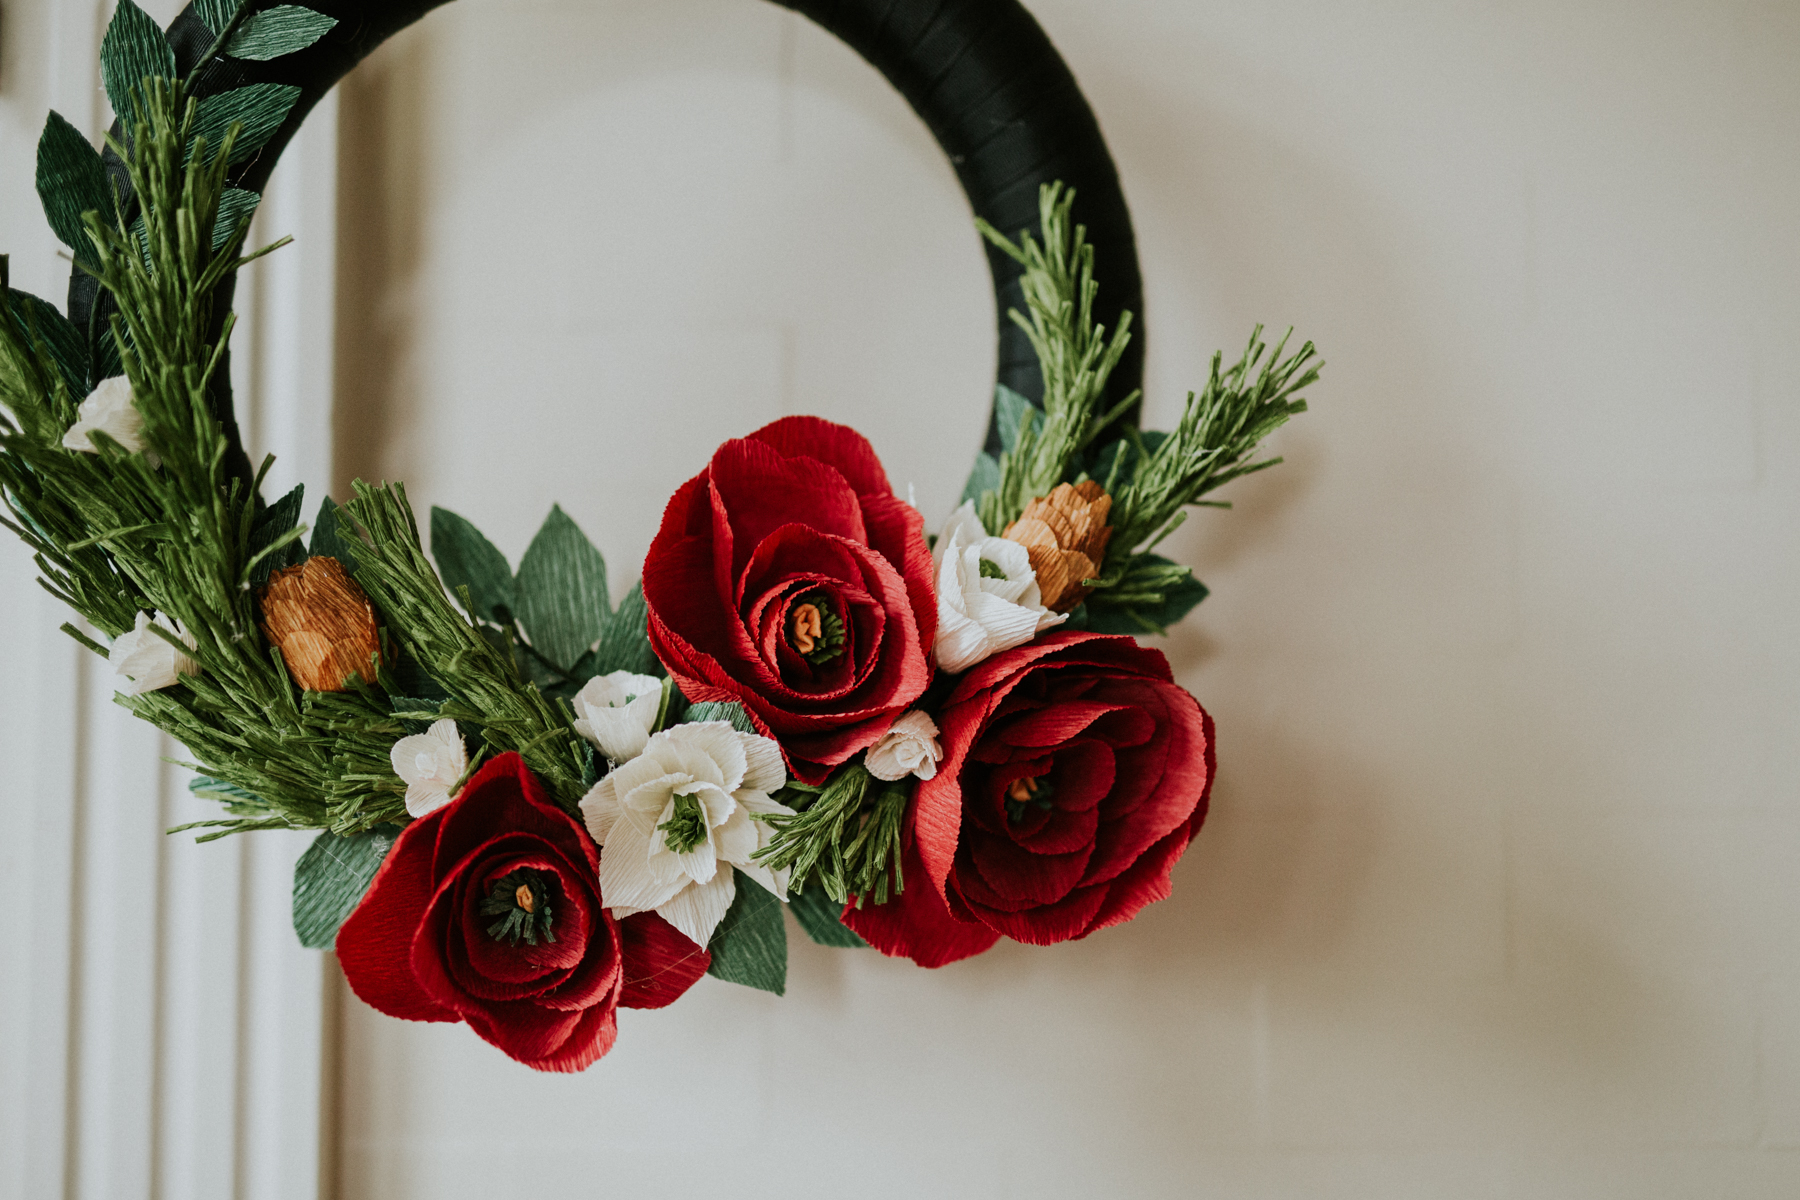
I’m proud to say, I finally did something with my paper flowers. When I had bought the paper, I also bought a foam floral wreath. I decided to make a Christmas wreath. Because, (I’m gonna downplay this) but I am so pumped to decorate this apartment for the holidays.
So here comes some of the DIY portion of this blog!
I’m not going to go super in depth, because largely I followed DIYs from other people to create nearly every flower and element. (I will list the tutorials I followed at the bottom)
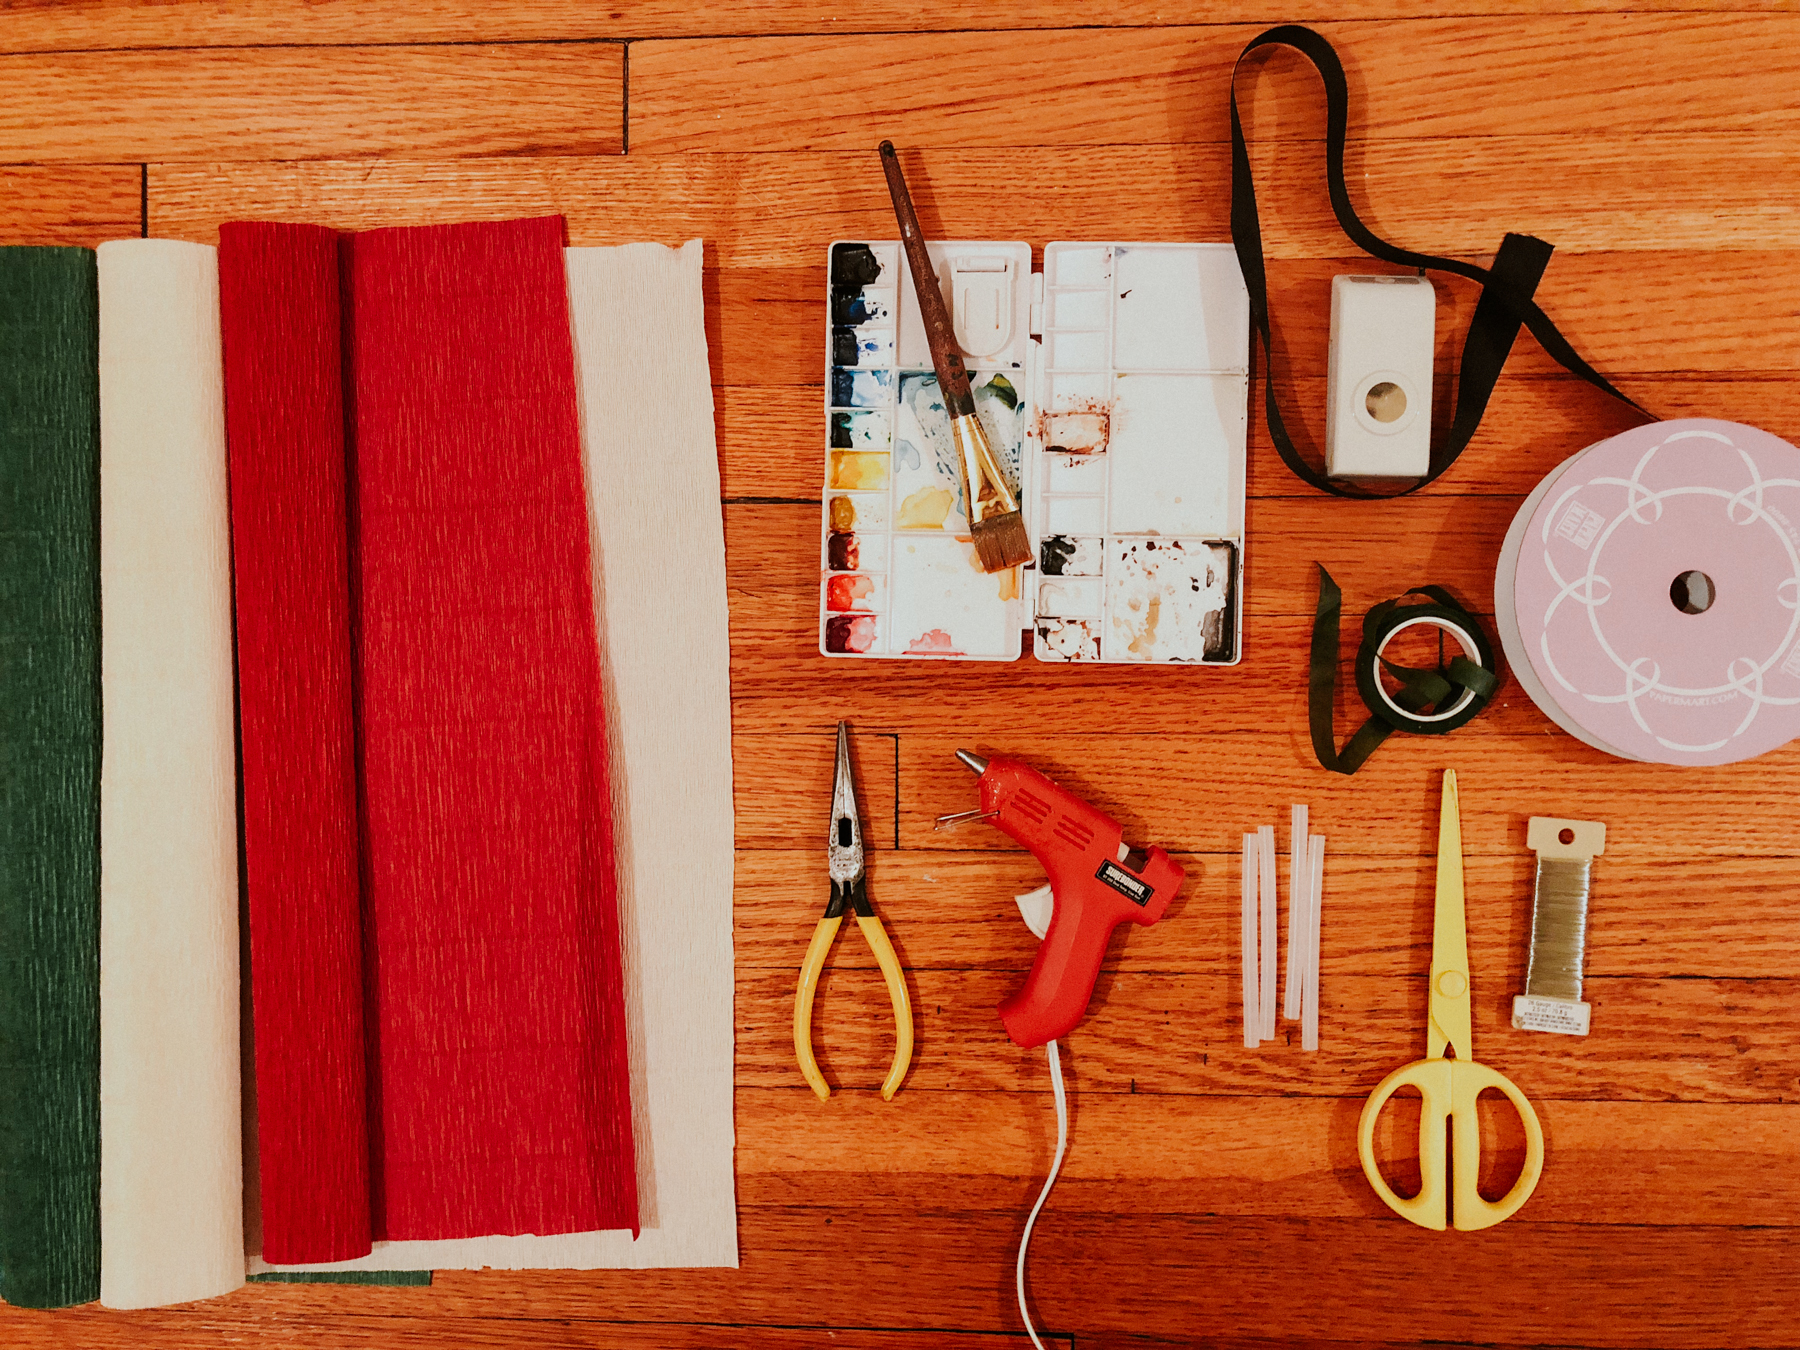
Items used:
-Floral Wire
-Foam Wreath
-Crepe Paper
-Floral Tape
-Scissors
-Wire Cutters/Needle Nose Pliers
-Hot Glue Gun
– 3/4″ circle punch (optional)
-Silk ribbon (or really, any ribbon)
-Water Colors (optional)
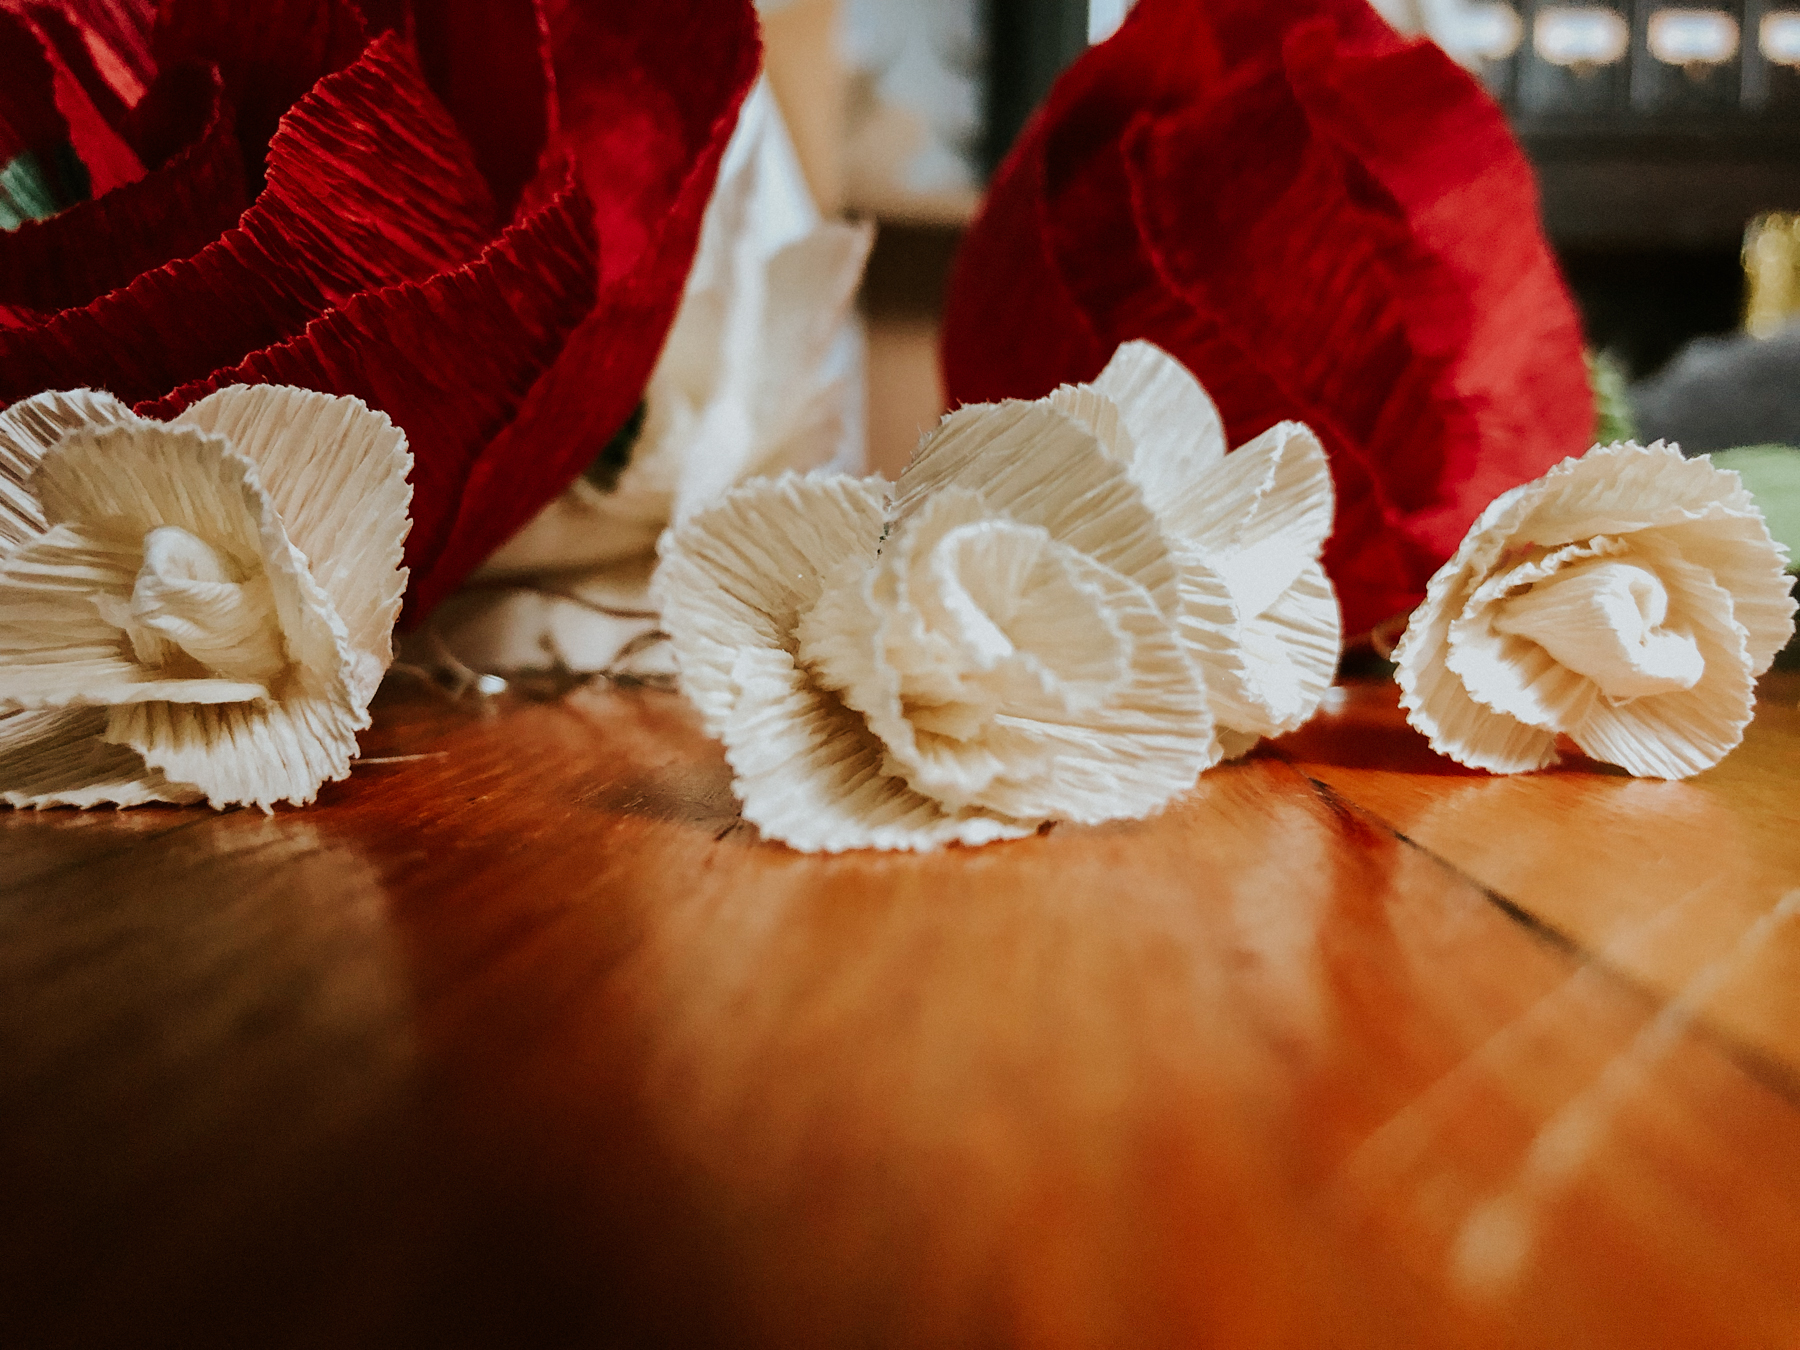
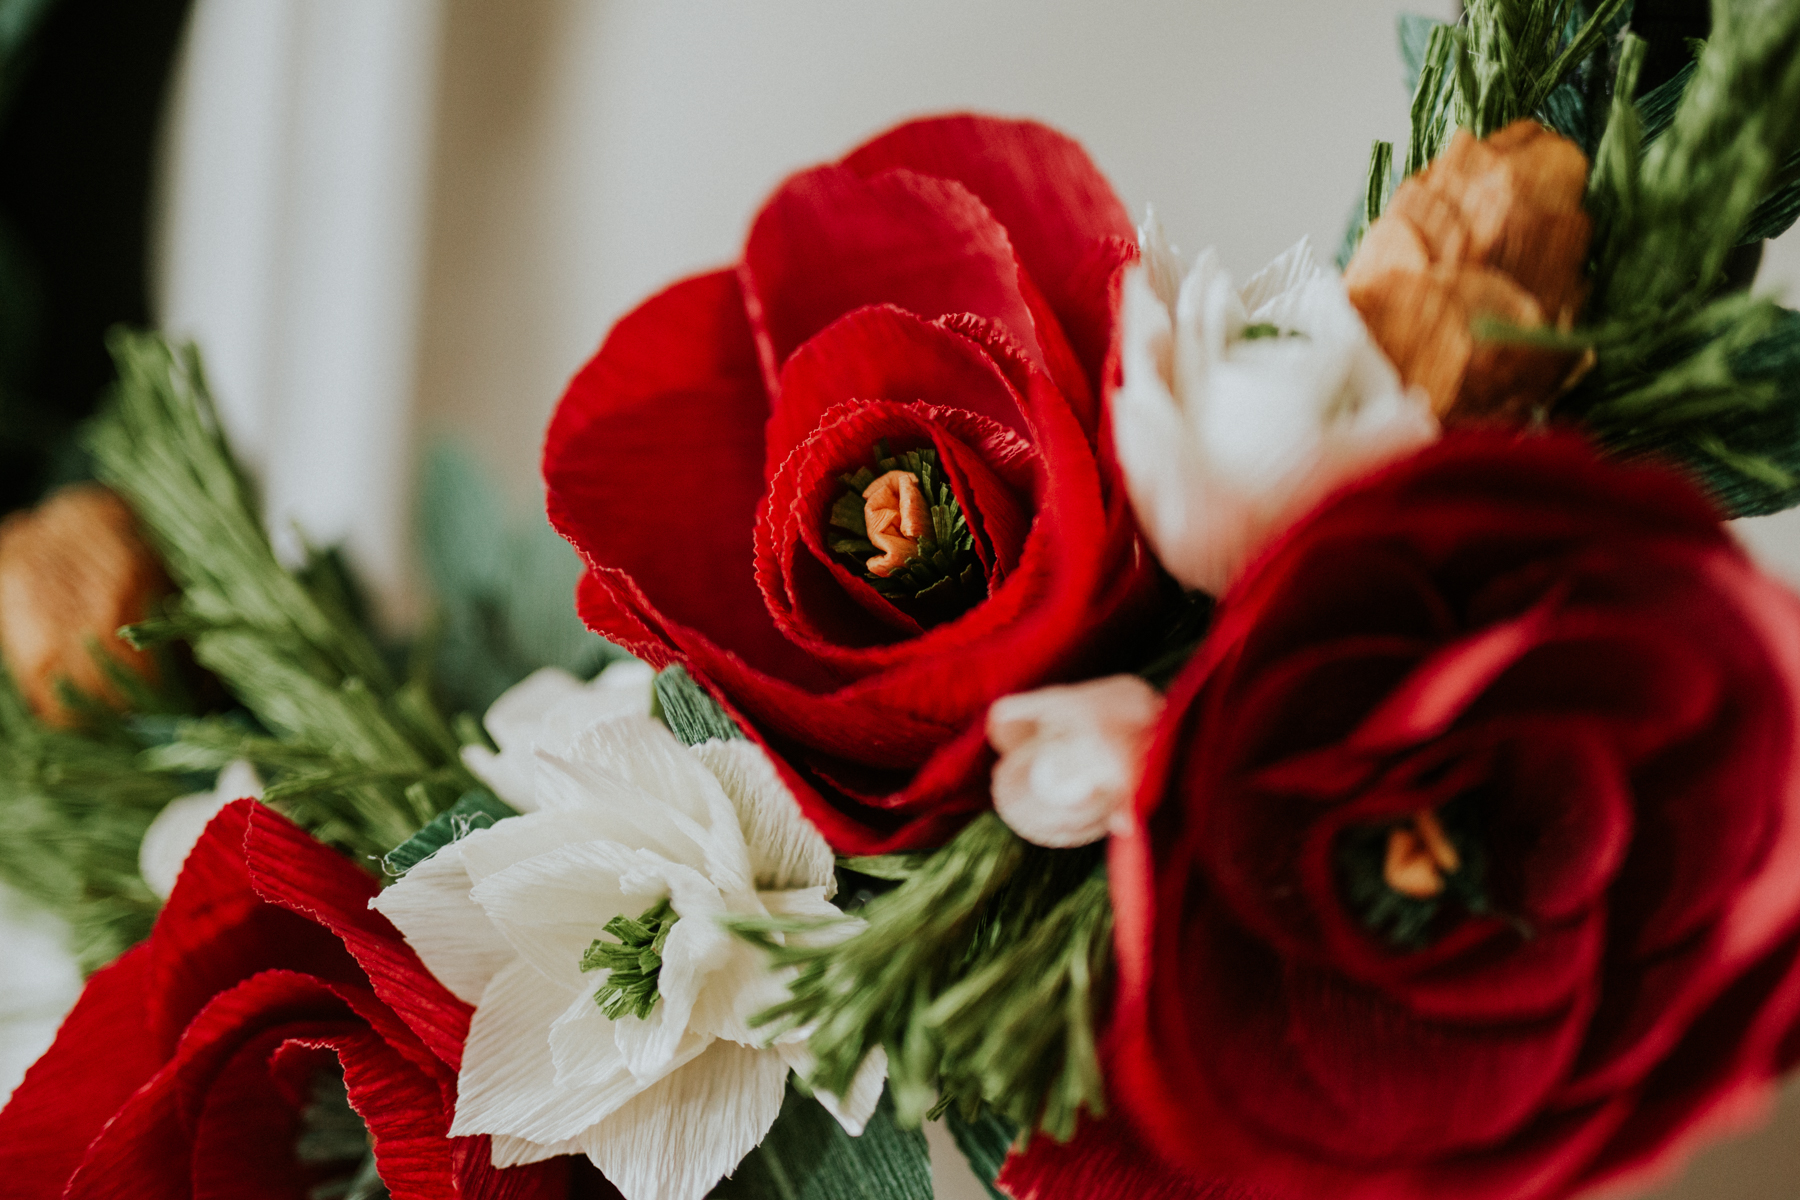
These little blossoms are one flower I didn’t use a tutorial for. I used center technique for the peony to start, then I used a 3/4″ circle punch to create the petals! I don’t know that I would suggest using the punch. Though it was the most accurate way to get a perfect circle, it was not most effective way to cut crepe paper. Because crepe paper has a natural give and stretch, a part of the edge of the circle always seemed to end up not cut in the punch. Frustrating, but ultimately worth it to get a perfect circle.
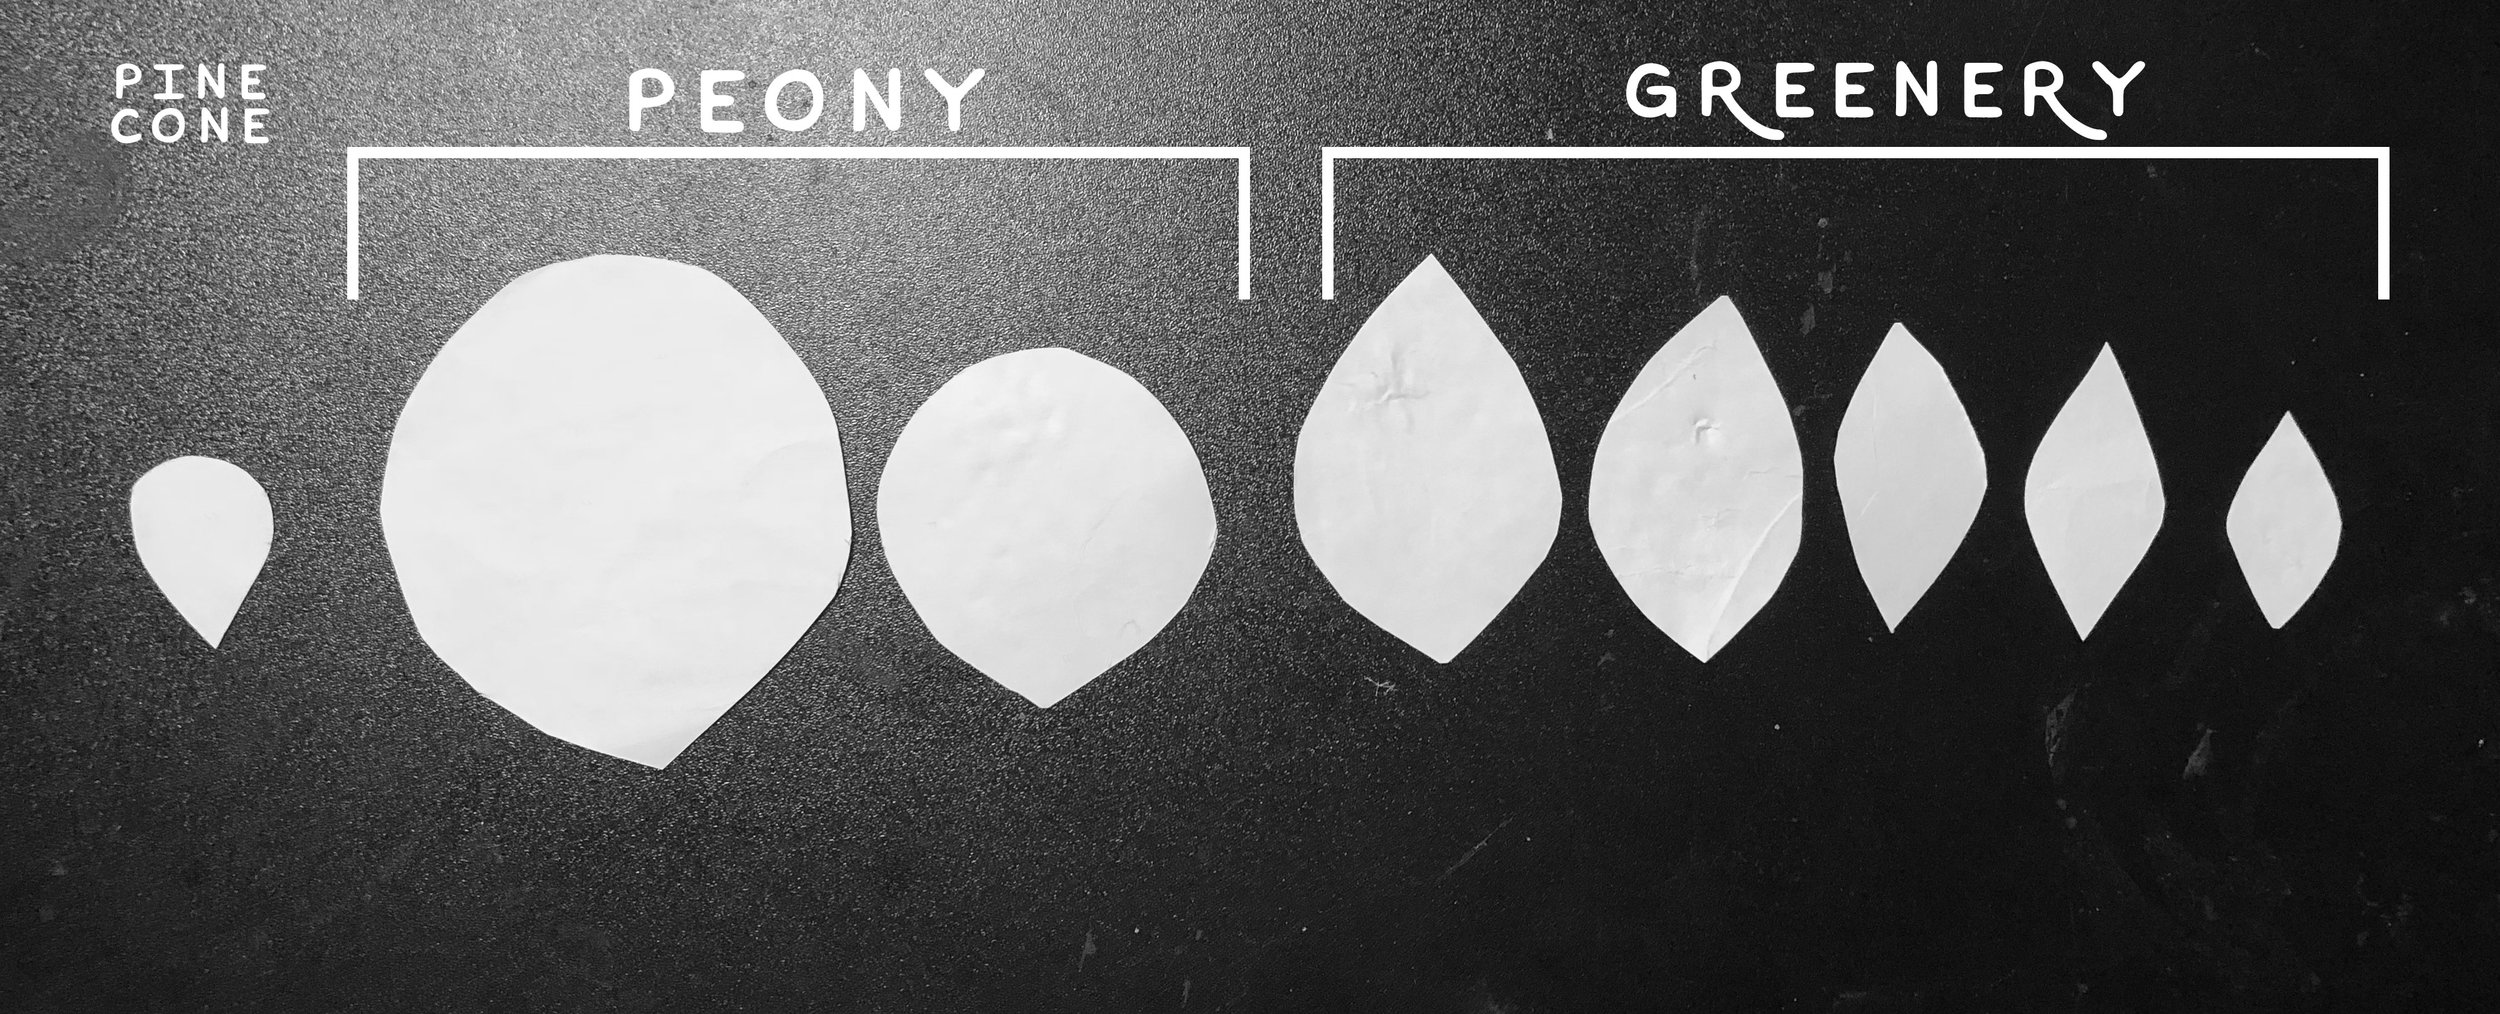
The “templates” I created for the different petals for the flowers
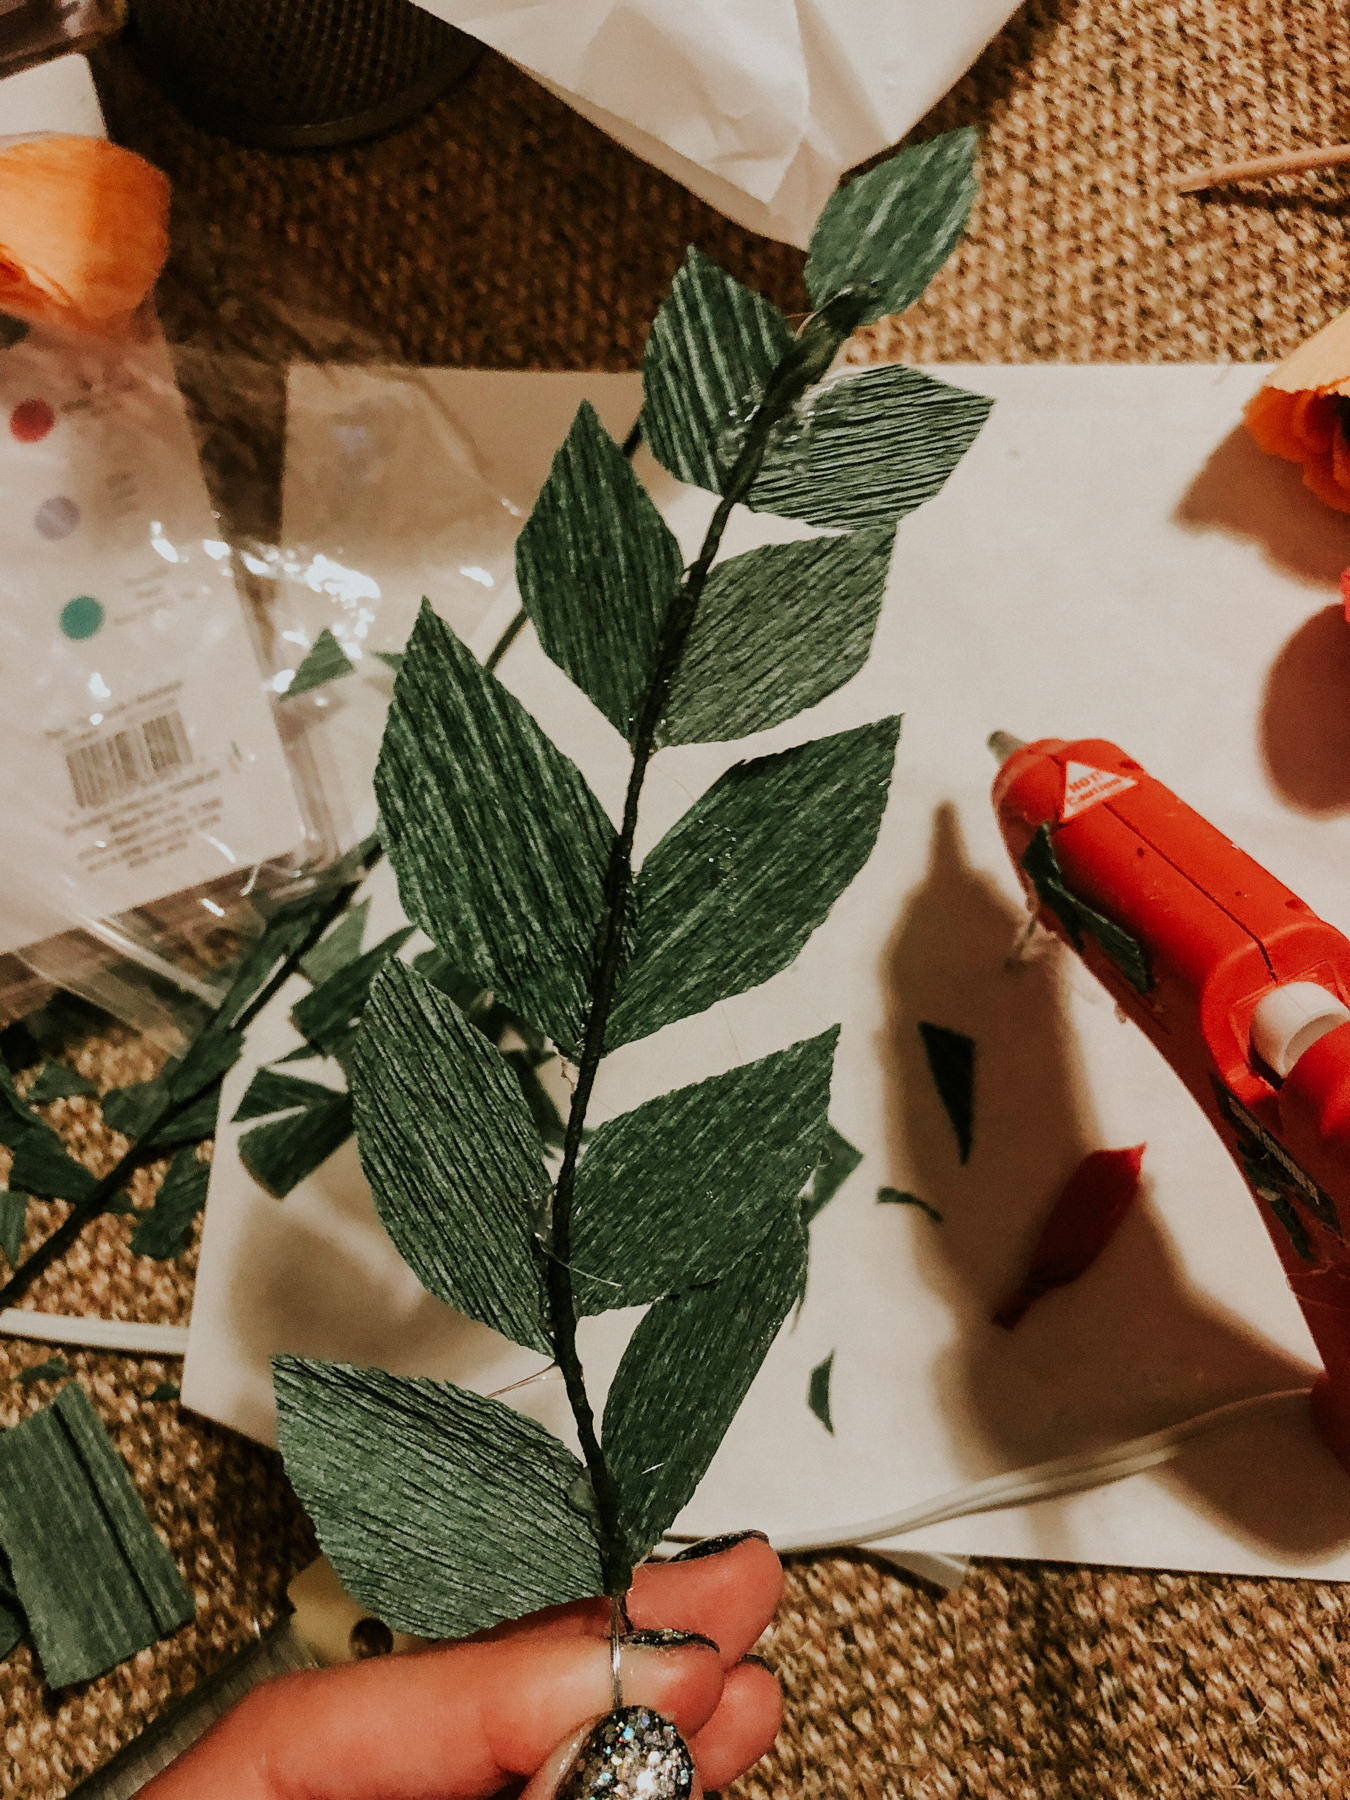
For the darker, Ruscus-y, greenery, I improvised/also didn’t use a tutorial for. Above you can see the leaf shapes I cut out of plain paper as a template for the leaves. I wrapped floral tape around floral wire, then adhered the leaves with glue. Pretty simple, I was pretty in love with them when I first made one!

I had to do the most improvising with the pine cones. I had found a tutorial online that I used as a jumping off point. (it’s listed below) But I didn’t have the right size foam ball, or a brown crepe paper. So I ended up using water colors to paint the yellow paper (closest thing I had to brown) brown. Then I used my floral wire to create the general shape I was going for. It was the best I could do with what I had, and at the end of the day I’m pretty happy with how they turned out, but I definitely suggest going with something closer to what the tutorial suggested. Working with the hollow wire was a challenge.
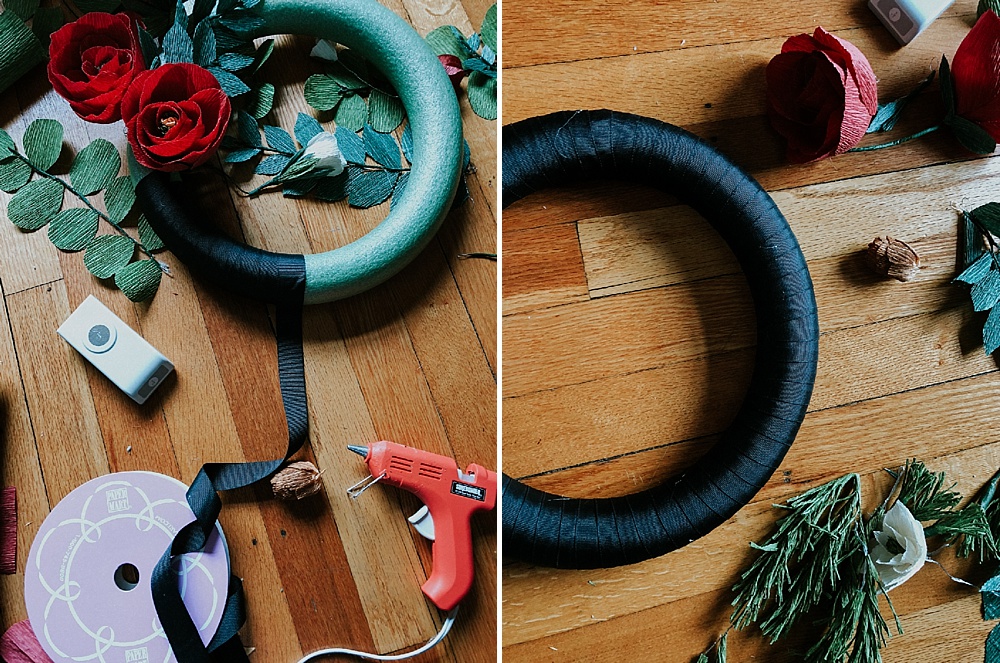
Once I had all the flowers and elements made, I started playing with arrangements on the foam wreath. At first I started placing/gluing them on the wreath as it came, then I realized there was no way I would be able to cover every inch of the green foam (and regretted not getting a wire floral wreath) and started wrapping it with some black silk ribbon that I already had (also from Paper Mart) and that looked a lot better. I ended up having to carefully remove the flowers I had already glued down so I could cover the whole thing.
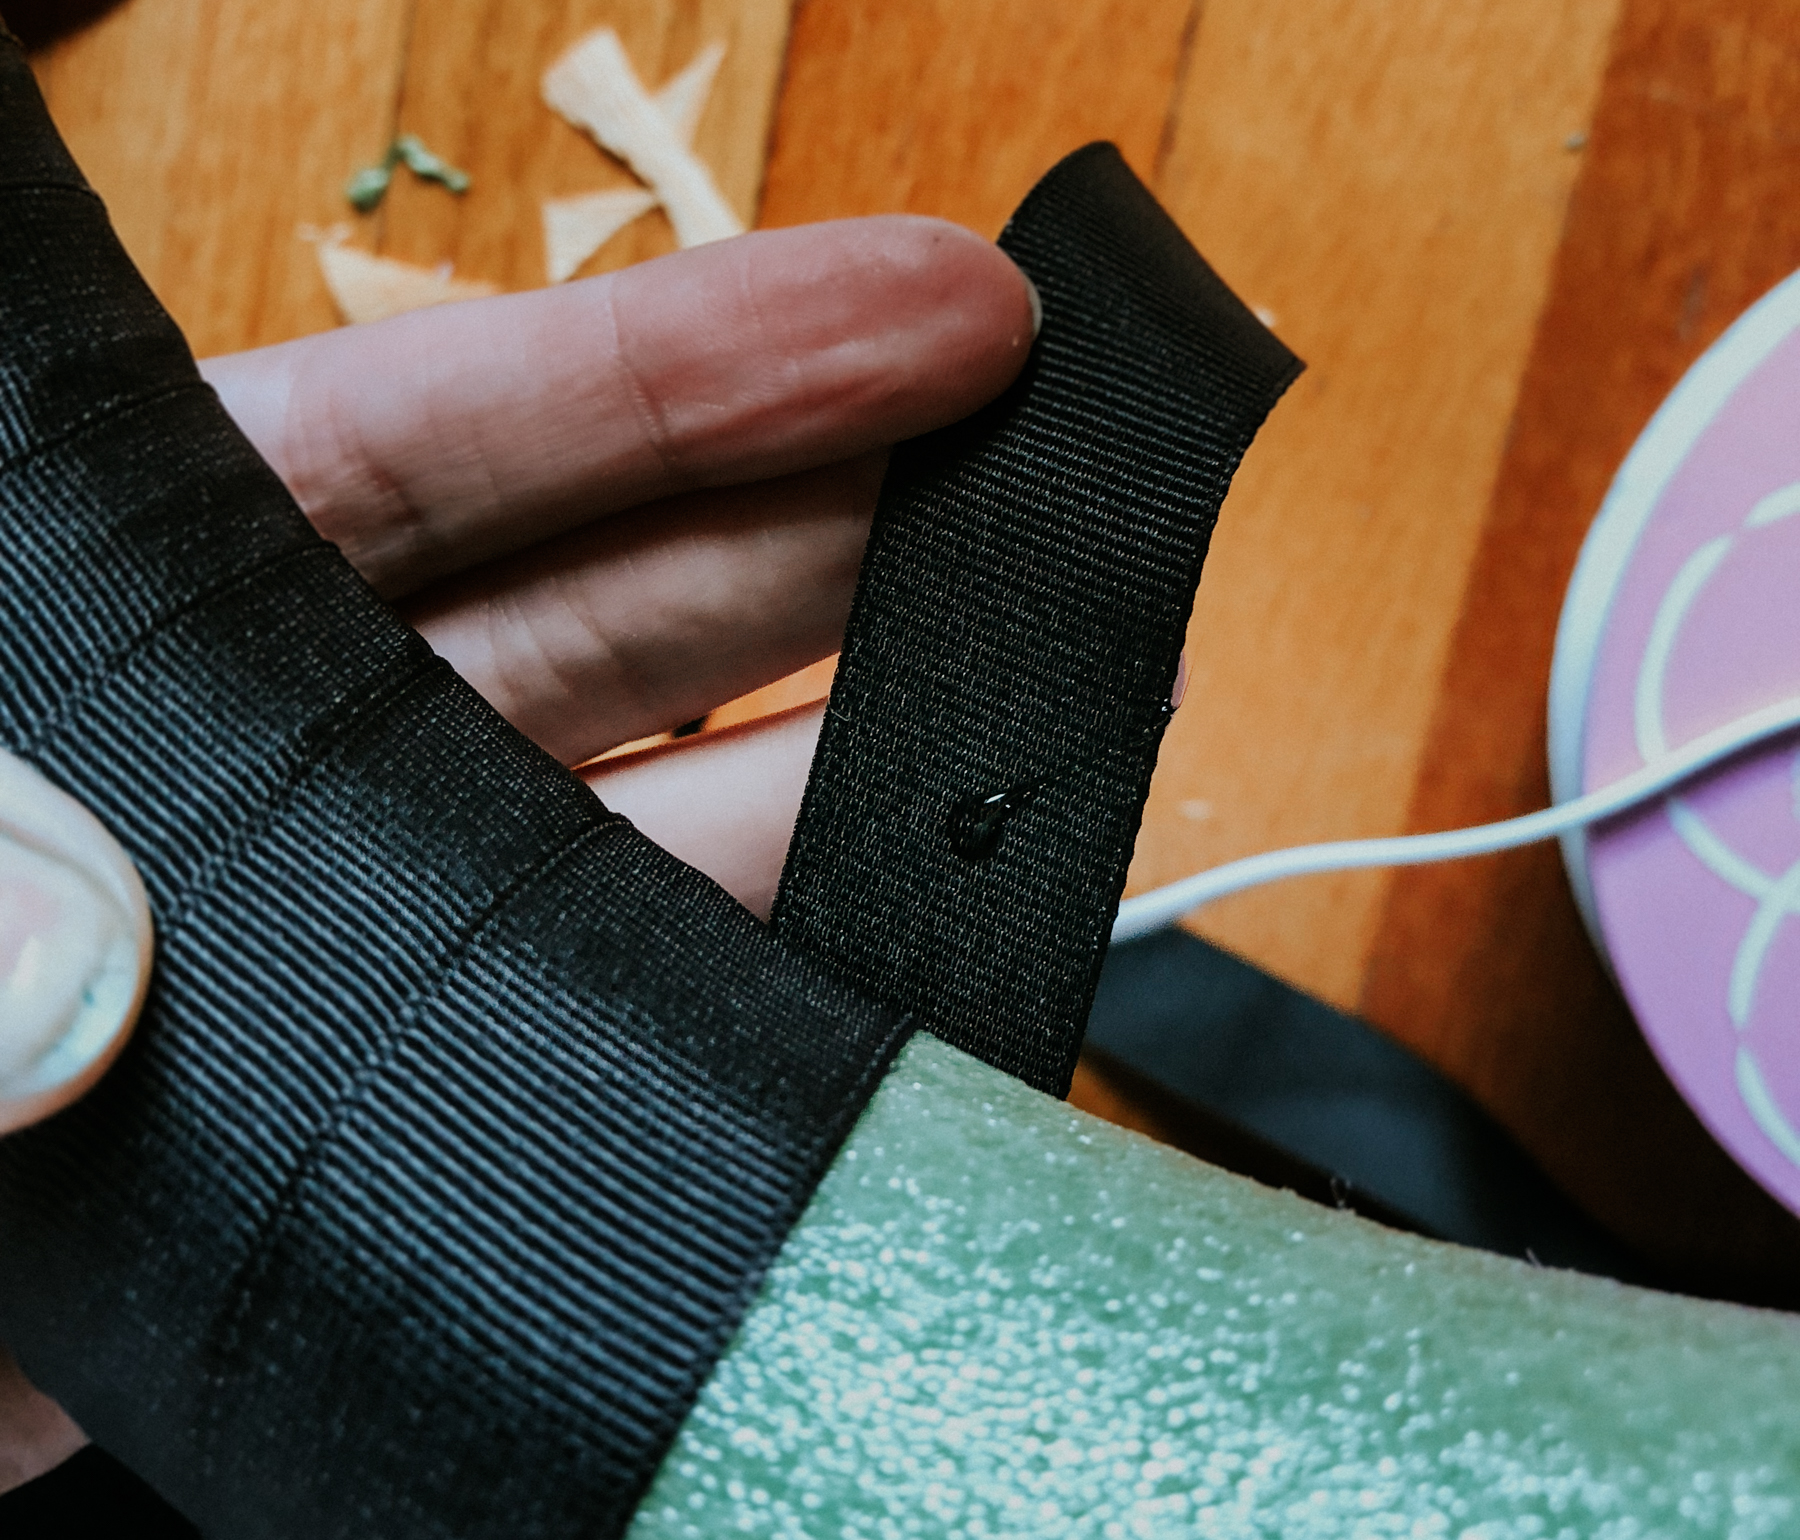
Every couple times around I secured the ribbon with a tiny dab of hot glue.
Just like gauging my feelings and emotions in this chapter of life, I had the same approach to arranging the flowers. I wanted the three Peony-like flowers to be weighted on the bottom right, and I just went from there. Slowly filling in around them, using hot glue to secure them.
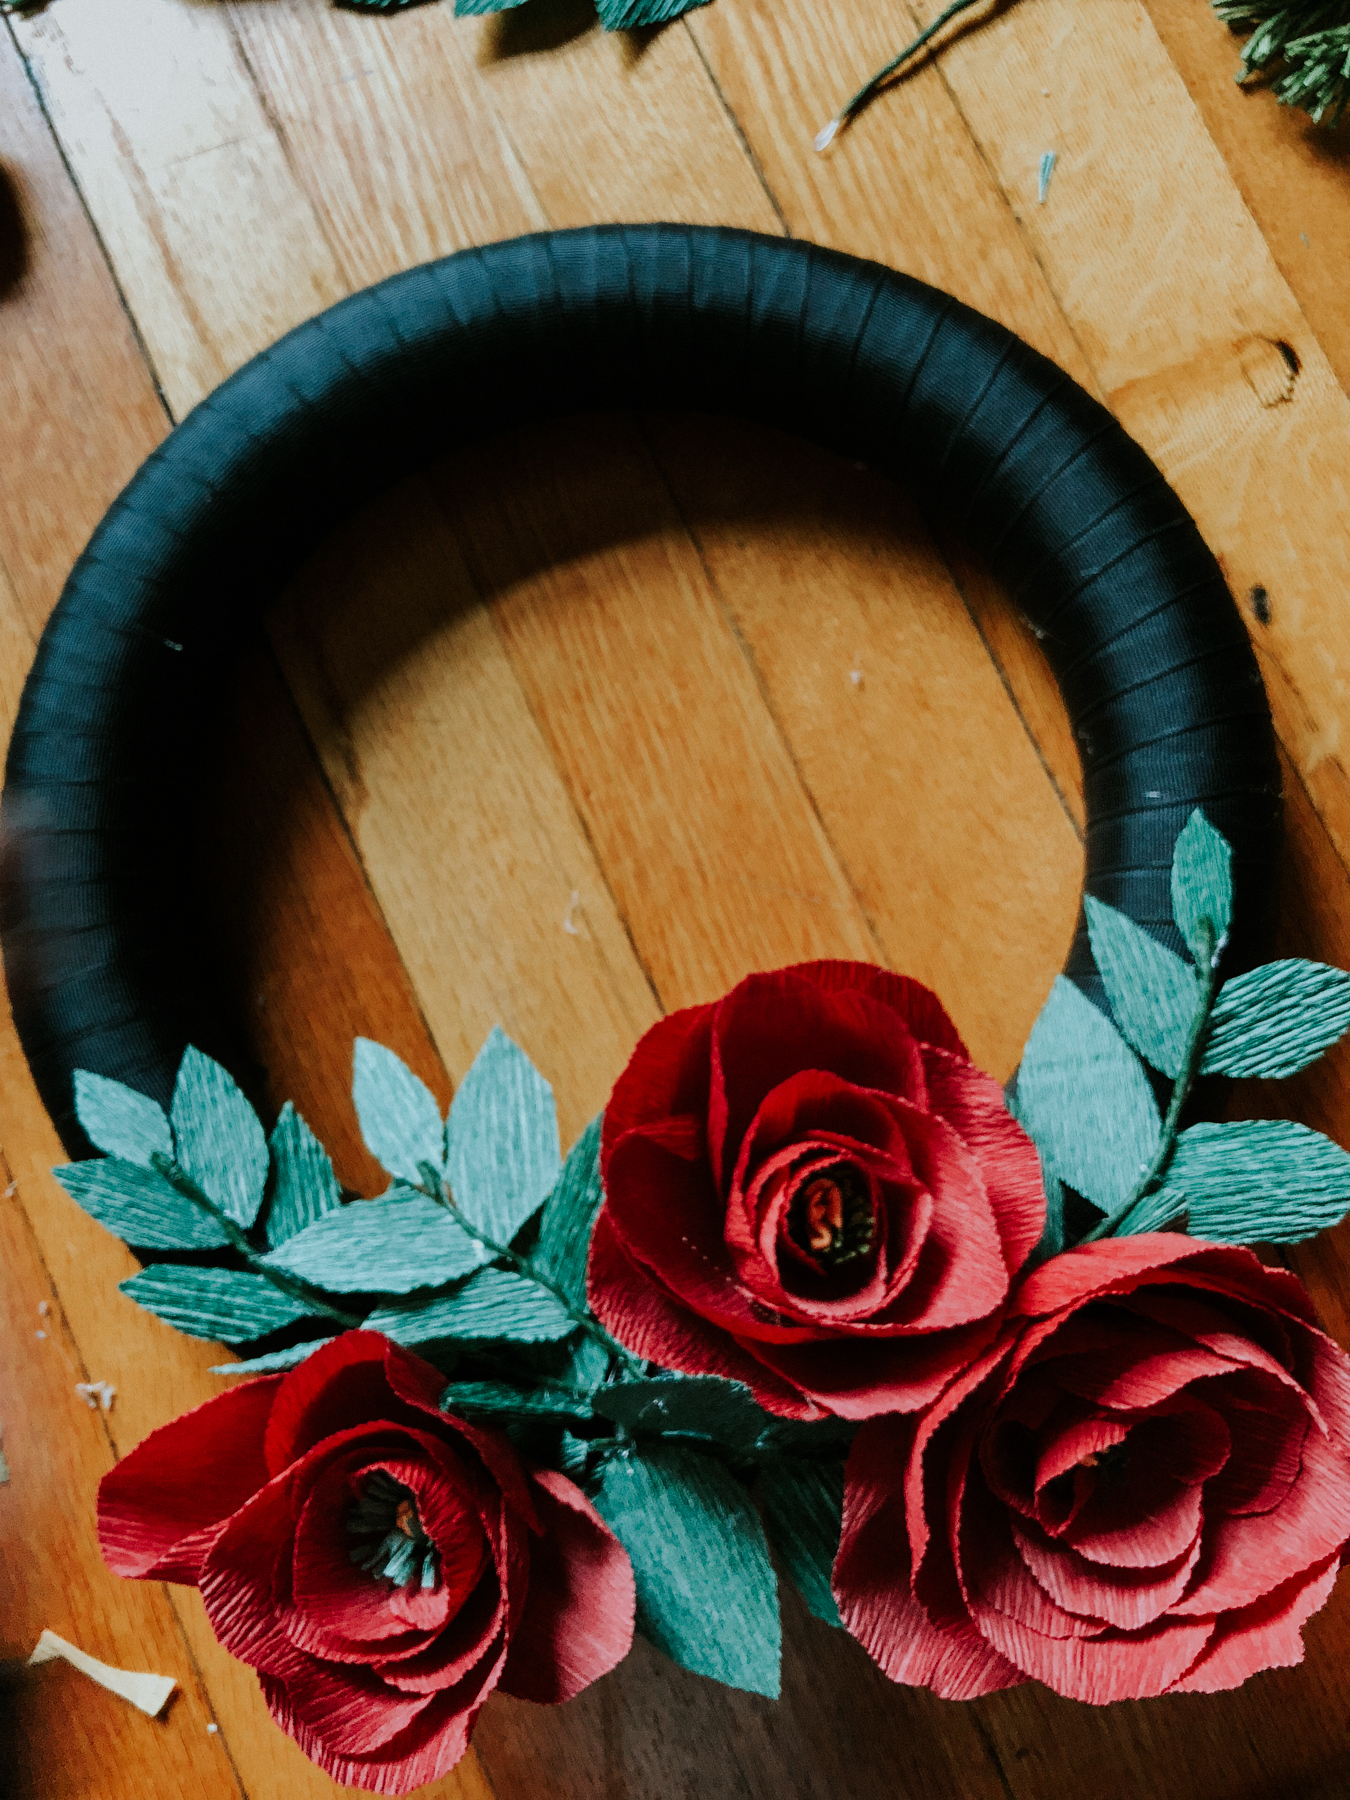
Here is where I started, my jumping off point.
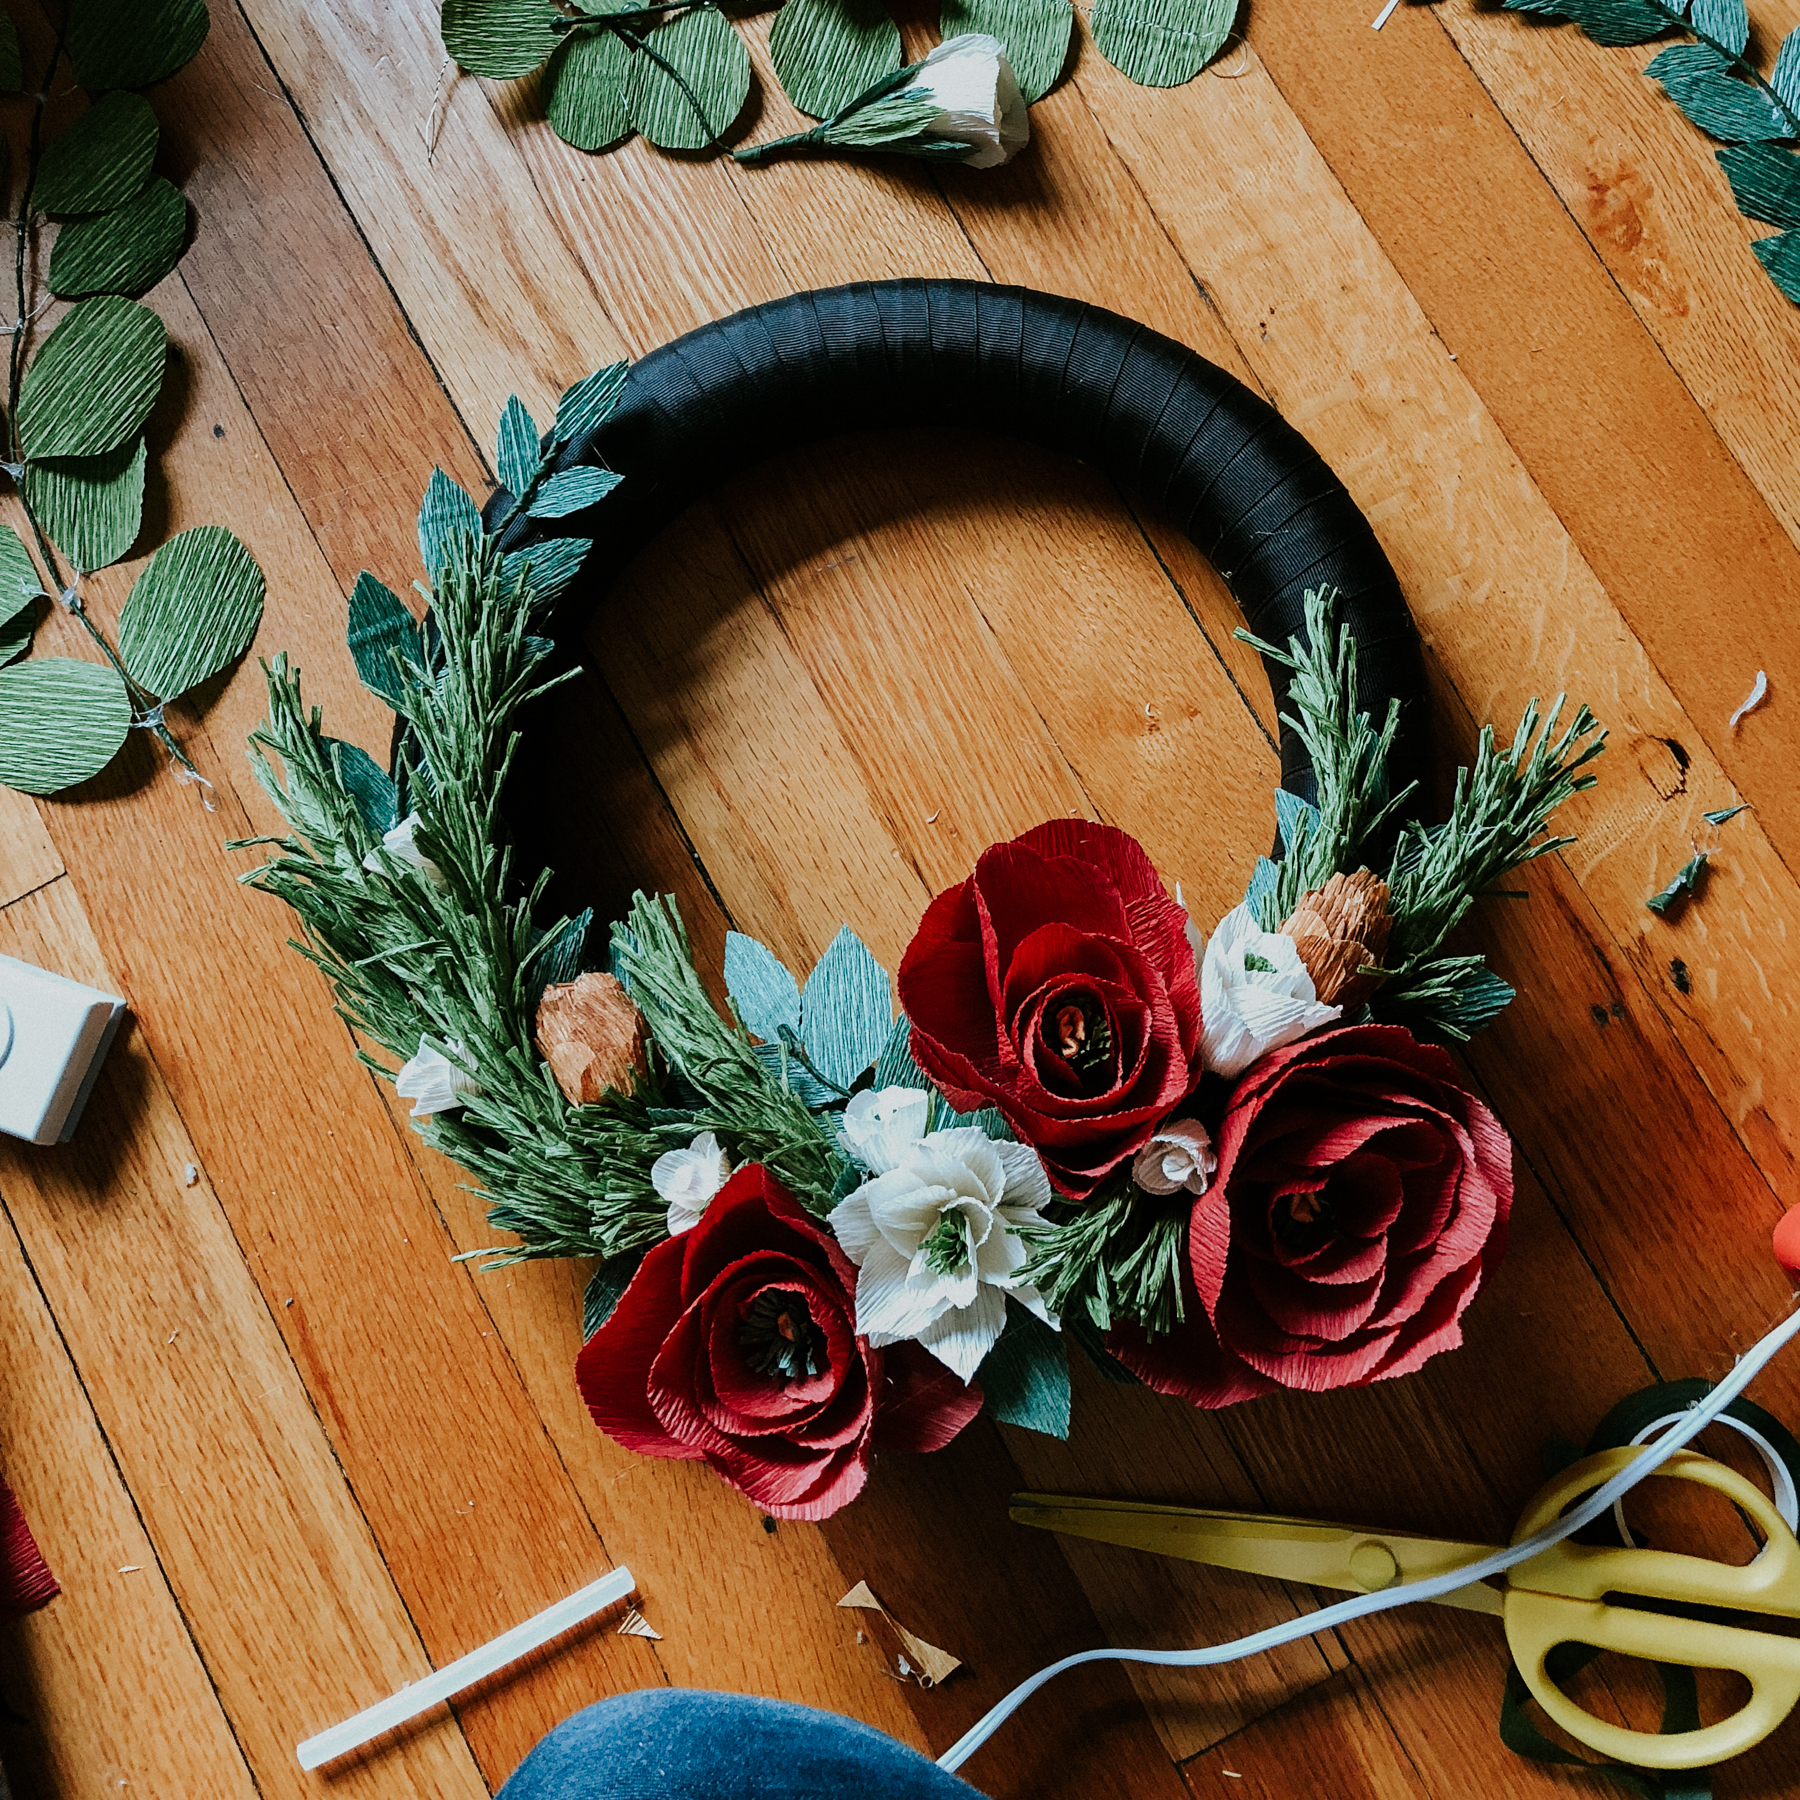
Ultimately I’m pretty pumped about how this project, brought about by some serious emotional energy, turned out! And I can’t wait to find a place for it in my apartment this Christmas!
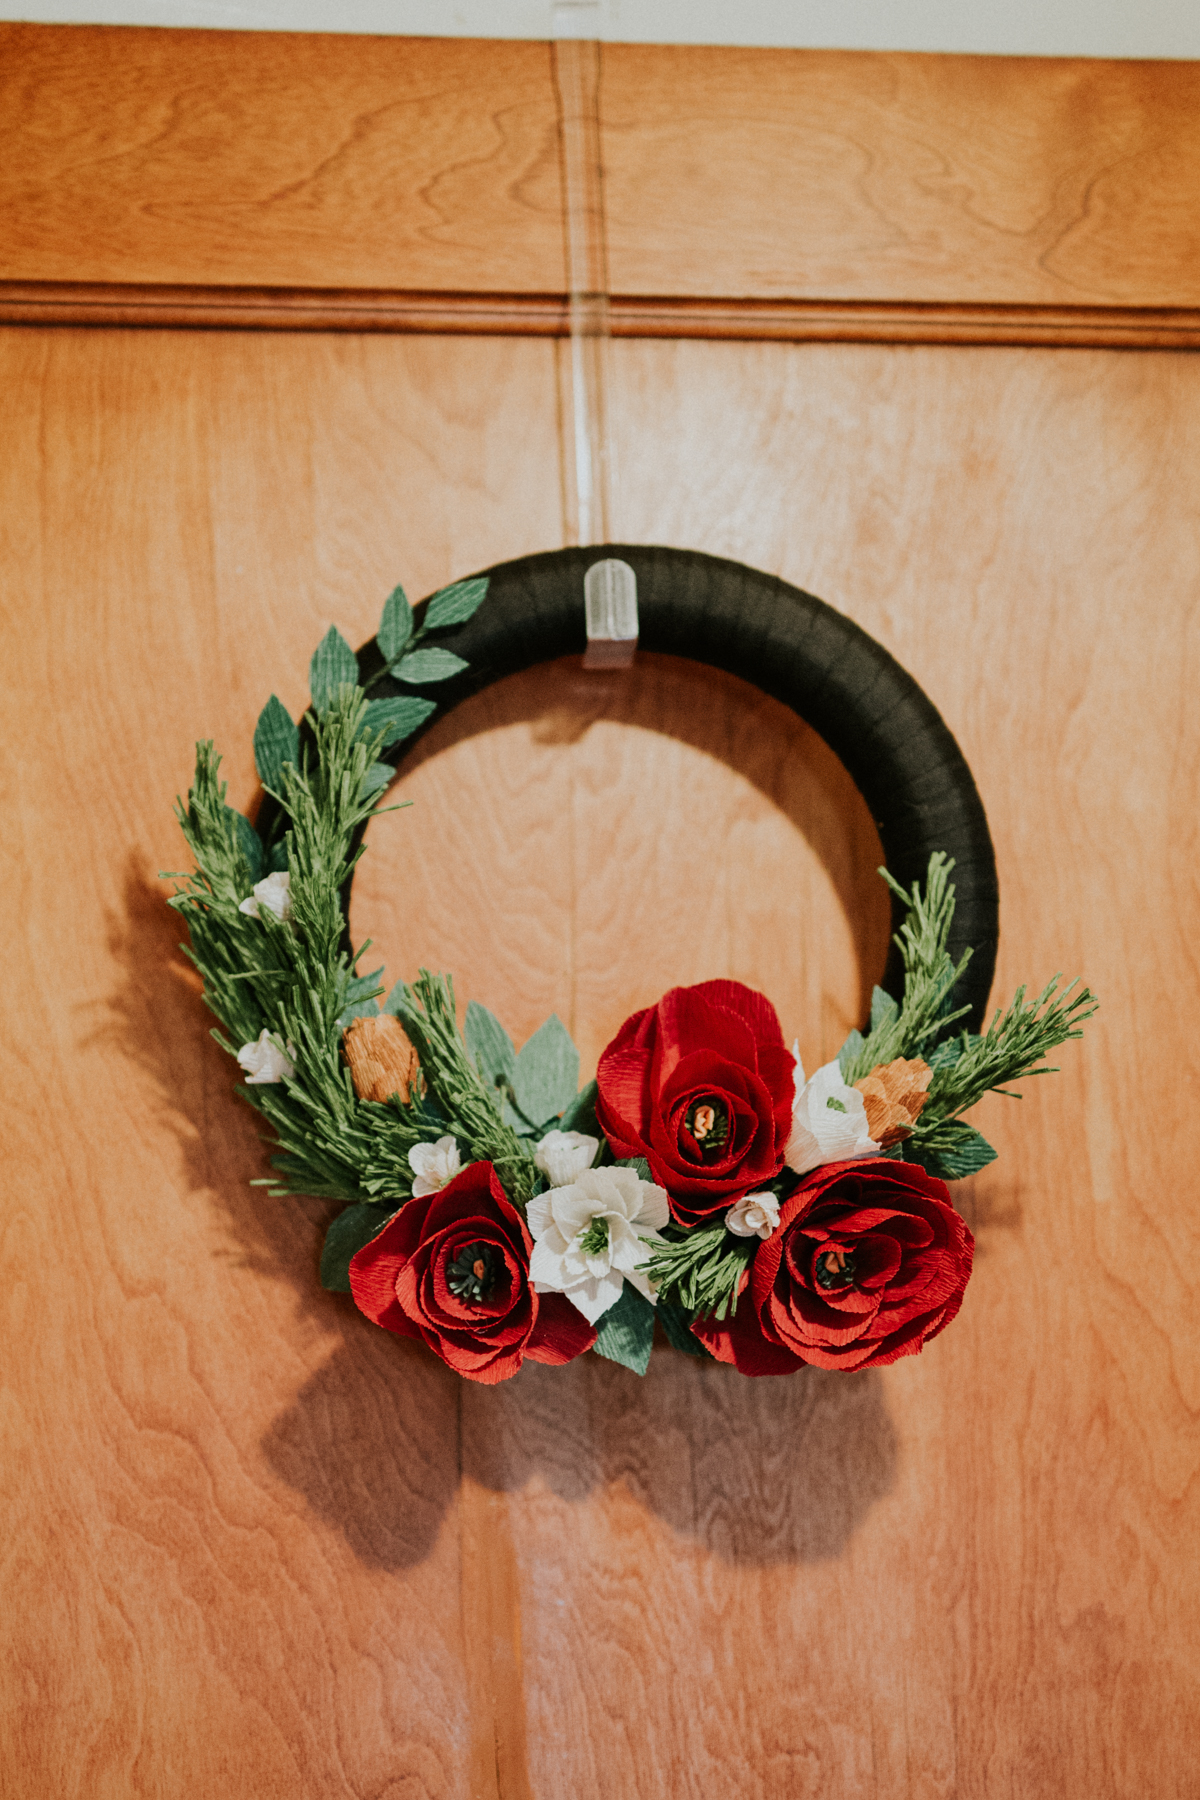
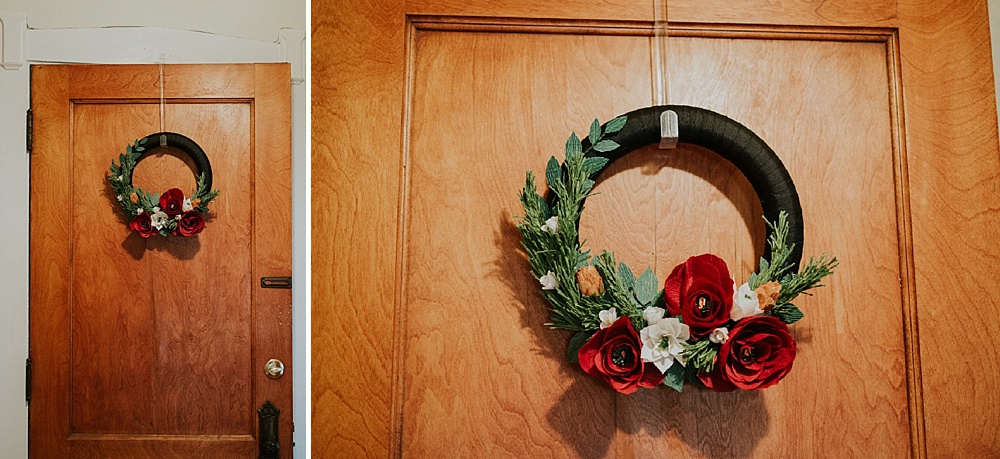
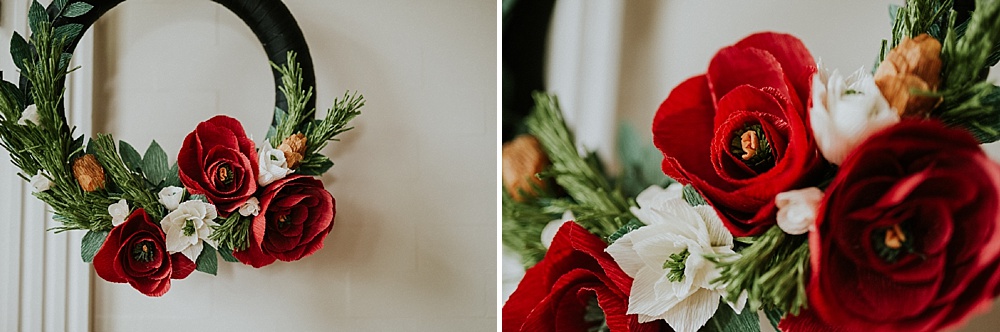
(I haven’t figured out how I’m going to hang it yet, and will wait till I figure out where it will live, so the ugly old door hanger had to do while I grabbed a quick snap of the finished product)
I know this hasn’t been a super in-depth tutorial. I didn’t really plan on making a tutorial, and wasn’t setting myself up well to actually make one. (It largely was just an output of lots of feelings and emotions, so it’s still a win in my book) But hopefully this can serve as inspiration, and give loose guidance on how to create something similar! If you start making paper flowers, of make your own paper flower wreath, I want to see it! Find me on instagram or pinterest and let me know how it goes!
Tutorials Used:
–DIY Peony
–DIY Acorn
–DIY Pine Sprigs
*this has been the first iPhone I’ve gotten right when it came out. My first iPhone/propper smart phone was the iPhone 5. I got the 6 nearly 9 months after it came out, I skipped the 7, and now I’m here. I had seen the great pictures coming out of the 7, but ultimately it didn’t persuade me to shell out the money for it. I was waiting for wireless charging (because I was tired of wearing out their crappy charging cord and having to buy new ones) So now that I have the fancy 8 plus, with the new camera, I was excited to see what this baby could do! I was pretty busy when I first got my hands on the phone. I didn’t have a chance to try out the camera until the weekend was over. I wondered if I could get away with using iPhone pictures on instagram/blog posts and feel like they were quality enough. The “diy” portion served as a test for that question! (all but the final few “final product” images are taken with my iPhone 8 plus)
